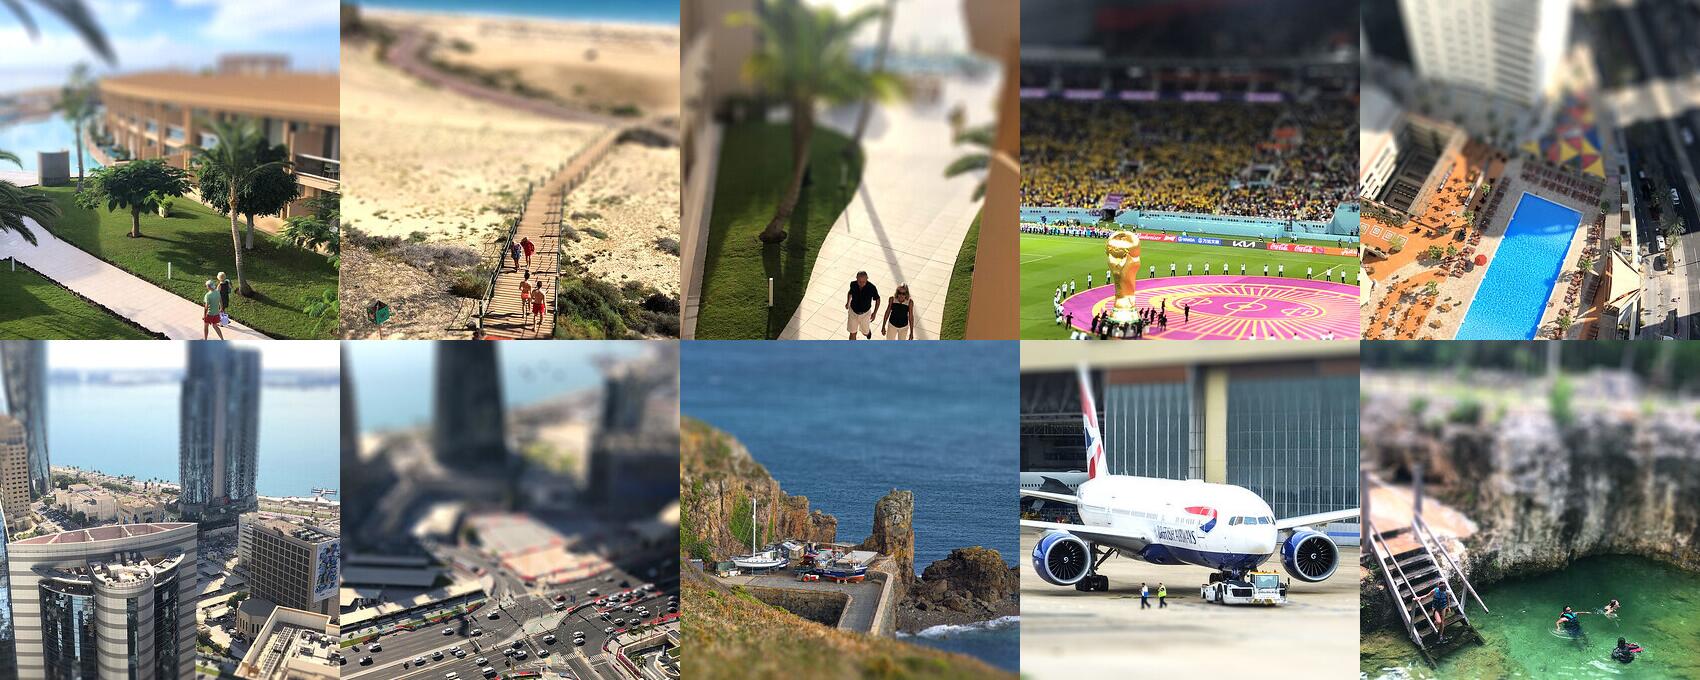
Move the vertical slider on the right of the original photo to select the area in focus.
Use the "Preview" button to see the results, then click on the required image size and press "Download"
when done to process the image and get a download link.
Site members get unlimited downloads up to 42MP
(8000 pixel length/width) and can access over 50 bokeh styles, click here for details.
Processing and downloading hi-res images may take a few minutes,
depending on original photo size and other factors.
A download link to the most recent hi-res file processed this session will appear in the "Recent
hi-res:" area.
The size of the main selected area can be adjusted using
the horizontal slider, from "narrow" (focusing on a small area)
to "wide" (focusing on a larger area).
If you would prefer to have a single larger image preview, try
clicking on the "Large" button on the left to switch to large
preview mode. You can then click anywhere on the image to toggle
the display of the focus area selection.
Switching to large preview mode may also be useful to more precisely set
the focusing area sliders.
Tilt-shift miniatures often look better with vivid
colors. Some photos may have already had their colors adjusted
though.
In this case, the "Enhance colors" checkbox can be unchecked to
avoid over-enhancement of the image.
You don't need to make the focusing area very wide to achieve the miniature look. Depending on the
photo, a narrower area may be better. Keeping the focused area in
the lower or center portion of the image can also help.
Does a specific part of the photo work better with the miniature effect compared to others?
Consider downloading at full-size and then cropping out the best area as a new image.
The bokeh boost settings can also be used to enhance
highlights in daylight shots.
For example, dappled sunlight from a tree canopy can look muted when it's changed into a defocused
area.
Use the default bokeh style and bokeh boost strength increase to restore
the original brightness in these areas.
Advanced controls
For the more adventurous miniature maker..
Vertical focus mode: Use the buttons on the top-left to switch between horizontal and vertical focus modes.
Horizontal mode is the classical tilt-shift style, however vertical mode can be used when the photo contains strong
vertical elements, such as tall buildings, people standing, etc.
Try it for yourself to see if it works with your photos.
Defocus strength: Controls the maximum level of out of focus. Set to "weak" for a
sharper focus, "strong" for more blurred.
Note: This also controls the size of the bokeh highlights
produced (out of focus discs from a real camera lens) - set to "strong" for larger bokeh highlights or "weak" for smaller..
Defocus gradient: Controls how quickly the image goes out of focus. "quick" setting results in
an abrupt change, whereas "slow" makes the change more gradual.
Note: If the defocus gradient is set very "slow", it may not reach the full amount of out of focus as set by
the defocus strength control.
Bokeh styles
Bokeh usually describes the appearance of the out-of-focus areas or highlights in a photo.
TiltShiftMaker features bokeh processing in the form of the Bokeh Boost and Bokeh Style
settings, offering high quality results when used with the right images.
Bokeh style / Aperture: Select a style of lens aperture to use in your photo. These are split into three groups,
"Classic" for photographic or lens-like bokeh, "Motifs" for common
shapes or design themes, and "General" for misc. symbols and icons.
Note that for the purposes of creating a miniature effect, the "default" aperture style is often the
best choice, since it creates the smoothest, most natural defocusing without distracting from the area in
focus.
Non-site members can select from the four left-most styles in the "Classic" group, and the two left-most
in the "Motifs" and "General" groups. Site members get access to all 54 available options - click here to join.
Want to get nice results using different bokeh shapes? Try a nighttime or dusk/dawn shot with bright lights
and increase the bokeh boost strength setting.
Works great with decorative lights in night shots, and in general, with any point
sources of light in a photo.
Bokeh boost
Bokeh Boost enhances the areas of background bokeh in a photo. It can be used on its own, or with the different bokeh style options to give
a "custom/shaped bokeh" effect.
Bokeh Boost - Strength: Use the Bokeh Boost Strength setting to control how vivid bokeh highlights are in your picture.
The suggested setting depends very much on the specific photo, however here is a rough guide:
Strength 0-5:
May give a subtle enhancement for some daytime photos, although can
sometimes give an over-exposure on shots with bright clouds.
Strength 5-8:
Good for bringing out highlights in night or dusk/dawn photos, but will often be too strong for
daytime photos.
Strength 8-10:
Strong effect will not look natural in many cases, but can be used to good effect in some night lights style photos.
Bokeh Boost - Coverage: The Coverage control is more of a fine tuning control compared to the Strength setting.
Usually the default value works fine, however you can increase it to have a slightly greater range and/or intensity of boosted
highlights in the photo, or decrease it if the highlighted bokeh
looks too cluttered.